Serverless rails on google cloud run
This tutorial shows you a way to deploy rails on google cloud run and at the same time make the server warm all the time.
There are many ways to deploy a server online, the most traditional way is to rent virtual machine and deploy the server there, it sounds simple but actual not. First, prepare a virtual machine to make it ready is a pain for me everytime. And you also need to config stuff like loadbalance, server group, certificates, firewalls, and so on. It’s just not easy to deploy an https server on virtual machine. Are you asking me why should we use https? Because it’s 2021!
But, if you choose cloud run, you get the following benefits for free.
- Cheaper price compared with VM. Pay for actual requests only, I assume this would be very low if it’s probably a side/hobby project.
- Automatic and free SSL certificates, you will get a https link when you finished deploy.
- Easy auto scale configuration, you can spawn as many instances as you like.
- Easy domain switches, adding a custom domain is super easy. Also with SSL powered.
- Easy traffic routing
You may have concerns about the serverless model, normally it will sleep if no active requests coming, but no worry. I can help keep it warm and always be ready. 🆙
Requirments
Certain requirements are needed for you to have a better reading experience.
- Minimum docker understanding, such as what is docker image?
- Basic rails knowledge, such as how to create a project, how to connect to a database and how to start your server.
- A little bit familarity about GCP.
All right, now bring a cut of coffee and sit tight, let’s start the journey now 👋!
Step 1 - Initialize project
Create a new rails project. In this example, I am going to name the project squirtle. Also I am using MySQL as the default database and Stimulus as the default JS handler.
rails new squirtle --webpack=stimulus --database=mysql
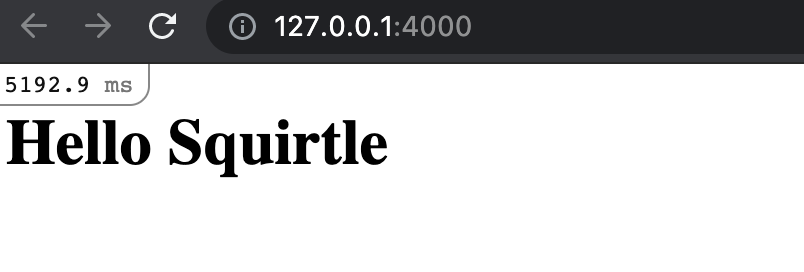
Add a test home page to your rails project. You will need this page to verify the production runnning status.
Step 2 - Prepare database
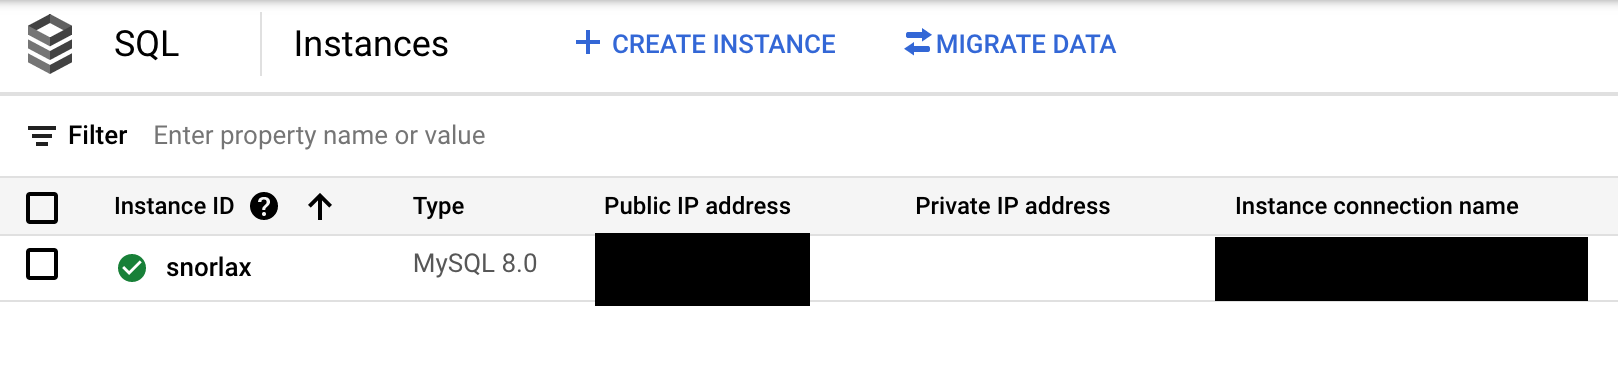
Create a MySQL database instance on GCP, search sql in the serach bar and you should find the SQL admin panel. You may be asked to create a project if you didn’t have one yet. Here is my demo database instance.
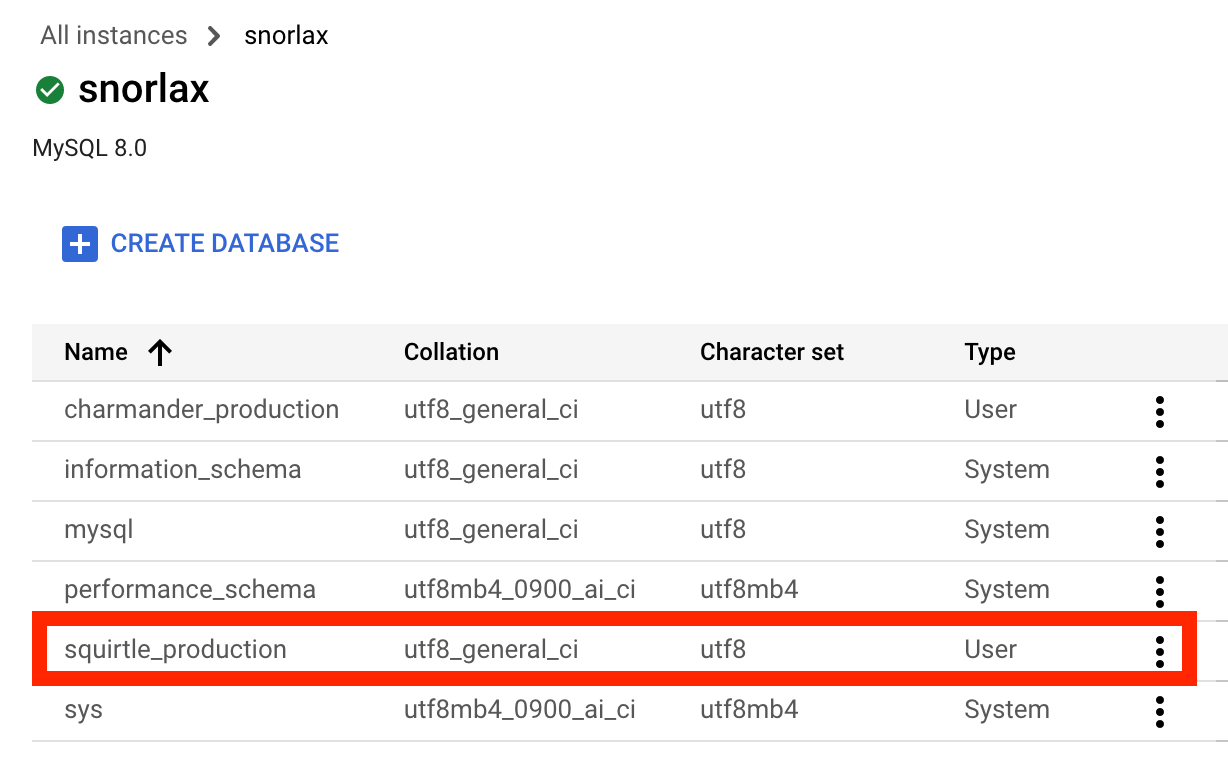
Database instance can have many databases, you should now create one for your project. I am going to name it squirtle_production. Also don’t forget to create a new user for your database, you will need it for the database configuration 😁.
Step 3 - Config database
Now that you have a production ready database, let’s now config it to our project. I recommend to have your password encrypted in the rails secrets.
EDITOR="code --wait" bin/rails credentials:edit
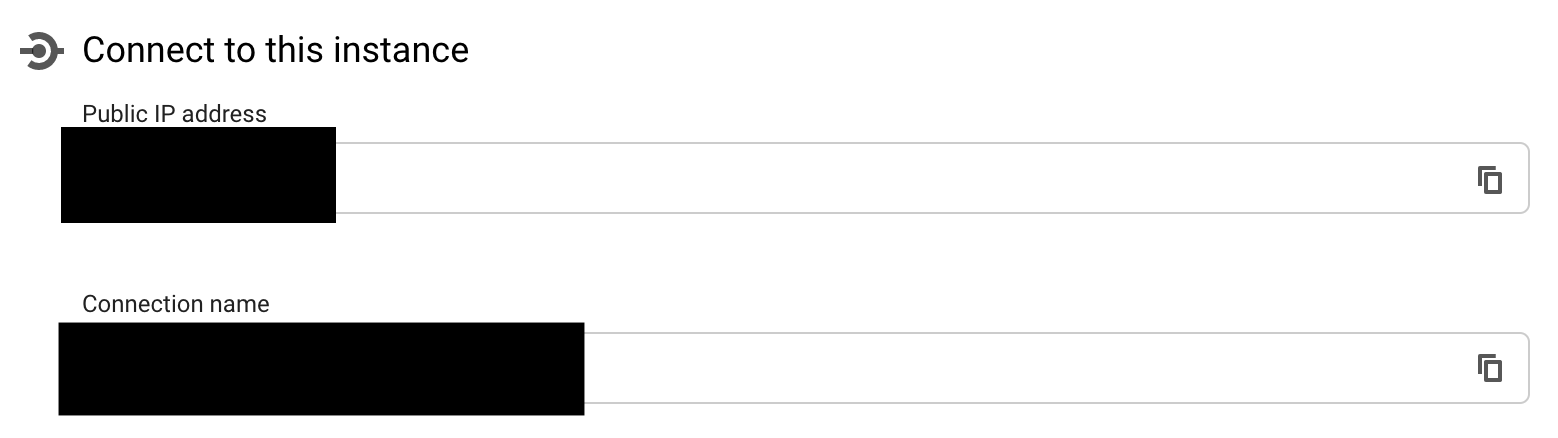
And then, update the config/database.yml as follows. Don’t forget to replace the information with your actual settings. Especially for the socket, you need to replace it with your instance connection name. You can find it in the instance detail page.
production:
  <<: *default
  database: squirtle_production
  username: squirtle
  password: <%= Rails.application.credentials.gcp[:db_password] %>
  socket: "<%= ENV.fetch("DB_SOCKET_DIR") { '/cloudsql' } %>/ao-ke-meng:us-west1:snorlax"
Step 4 - Prepare Dockerfile
Add this a file Dockerfile to the root folder with following configuration. Check docker documentations for more information.
FROM ruby:2.7.4-buster

RUN (curl -sS https://deb.nodesource.com/gpgkey/nodesource.gpg.key | gpg --dearmor | apt-key add -) && \
    echo "deb https://deb.nodesource.com/node_14.x buster main"      > /etc/apt/sources.list.d/nodesource.list && \
    apt-get update && apt-get install -y nodejs lsb-release

RUN (curl -sS https://dl.yarnpkg.com/debian/pubkey.gpg | apt-key add -) && \
    echo "deb https://dl.yarnpkg.com/debian/ stable main" | tee /etc/apt/sources.list.d/yarn.list && \
    apt-get update && apt-get install -y yarn

WORKDIR /app

# Application dependencies
COPY Gemfile Gemfile.lock ./

RUN gem install bundler && \
    bundle config set --local deployment 'true' && \
    bundle config set --local without 'development test' && \
    bundle install

# Copy application code to the container image
COPY . /app

ENV RAILS_ENV=production
ENV RAILS_SERVE_STATIC_FILES=true
# Redirect Rails log to STDOUT for Cloud Run to capture
ENV RAILS_LOG_TO_STDOUT=true
ARG MASTER_KEY
ENV RAILS_MASTER_KEY=${MASTER_KEY}

RUN bundle exec rake assets:precompile

EXPOSE 8080
CMD ["bin/rails", "server", "-b", "0.0.0.0", "-p", "8080"]
Step 5 - Create cloudbuild.yaml
We need to tell GCP how to build the docker image. One of the steps is to run the database migration. As this is mandatory for each rails deployment.
steps:
  - id: "build image"
    name: "gcr.io/cloud-builders/docker"
    entrypoint: 'bash'
    args: ["-c", "docker build --build-arg MASTER_KEY=$$RAILS_KEY -t gcr.io/${PROJECT_ID}/${_SERVICE_NAME} . "]
    secretEnv: ["RAILS_KEY"]

  - id: "push image"
    name: "gcr.io/cloud-builders/docker"
    args: ["push", "gcr.io/${PROJECT_ID}/${_SERVICE_NAME}"]

  - id: "apply migrations"
    name: "gcr.io/google-appengine/exec-wrapper"
    entrypoint: "bash"
    args:
      [
        "-c",
        "/buildstep/execute.sh -i gcr.io/${PROJECT_ID}/${_SERVICE_NAME} -s ${PROJECT_ID}:${_REGION}:${_INSTANCE_NAME} -e RAILS_MASTER_KEY=$$RAILS_KEY -- bundle exec rails db:migrate"
      ]
    secretEnv: ["RAILS_KEY"]

substitutions:
  _REGION: us-west1
  _SERVICE_NAME: squirtle
  _INSTANCE_NAME: snorlax
  _SECRET_NAME: squirtle_master_key

availableSecrets:
  secretManager:
  - versionName: projects/${PROJECT_ID}/secrets/${_SECRET_NAME}/versions/latest
    env: RAILS_KEY
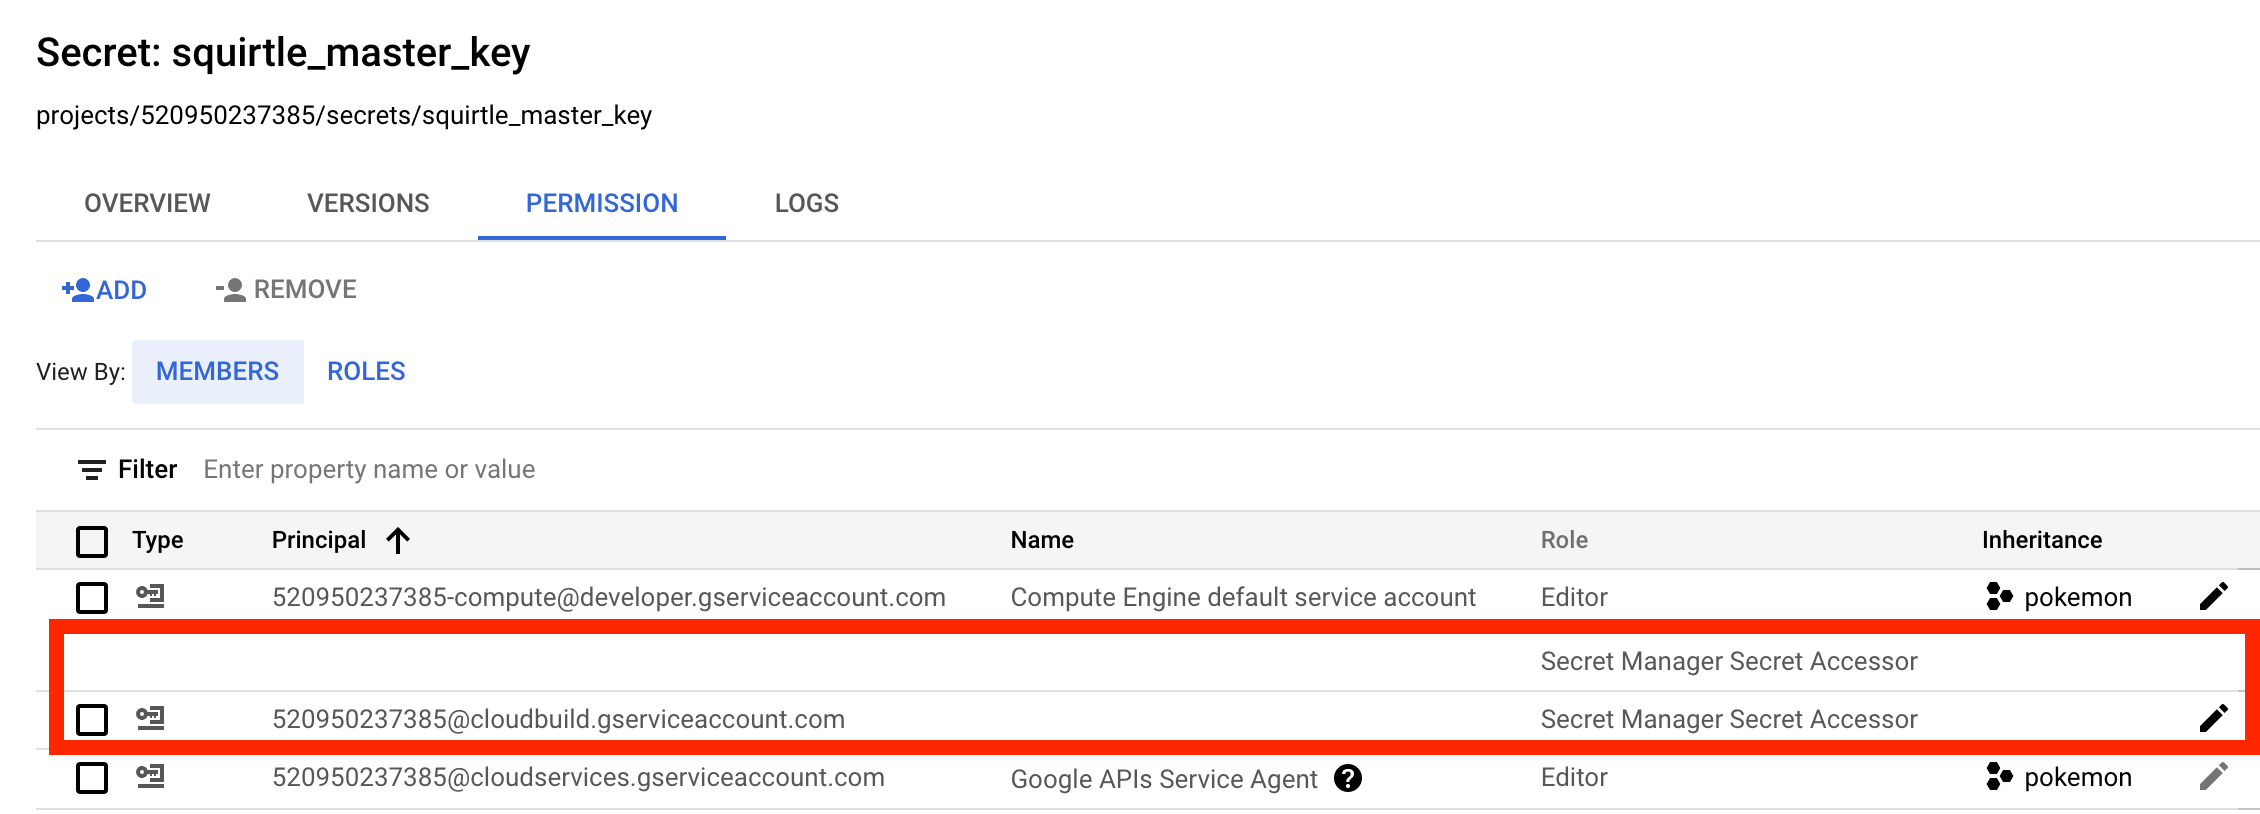
If you check the file carefully, you would notice one configuration is _SECRET_NAME: squirtle_master_key, I am storing the rails master key in the GCP as the secret. You should also create one secret there and let the image builder access it when building the image. Search secret in the serach bar to find the secrets manager. Also you need to attach proper permission for accounts, so that the builder could access the secrets properly.
Step 6 - Build image manually using gcloud
For the first time, I would choose to using deploy it manually, incase anything is wrong. Deploy cli tool gcloud is used. More information can be found here, it would
bundle lock --add-platform x86_64-linux
gcloud builds submit --config cloudbuild.yaml
If successful, you will see a SUCCESS message at the terminal end. Go to the cloud build page to check the build status.

Step 7 - Deploy manually on dashboard
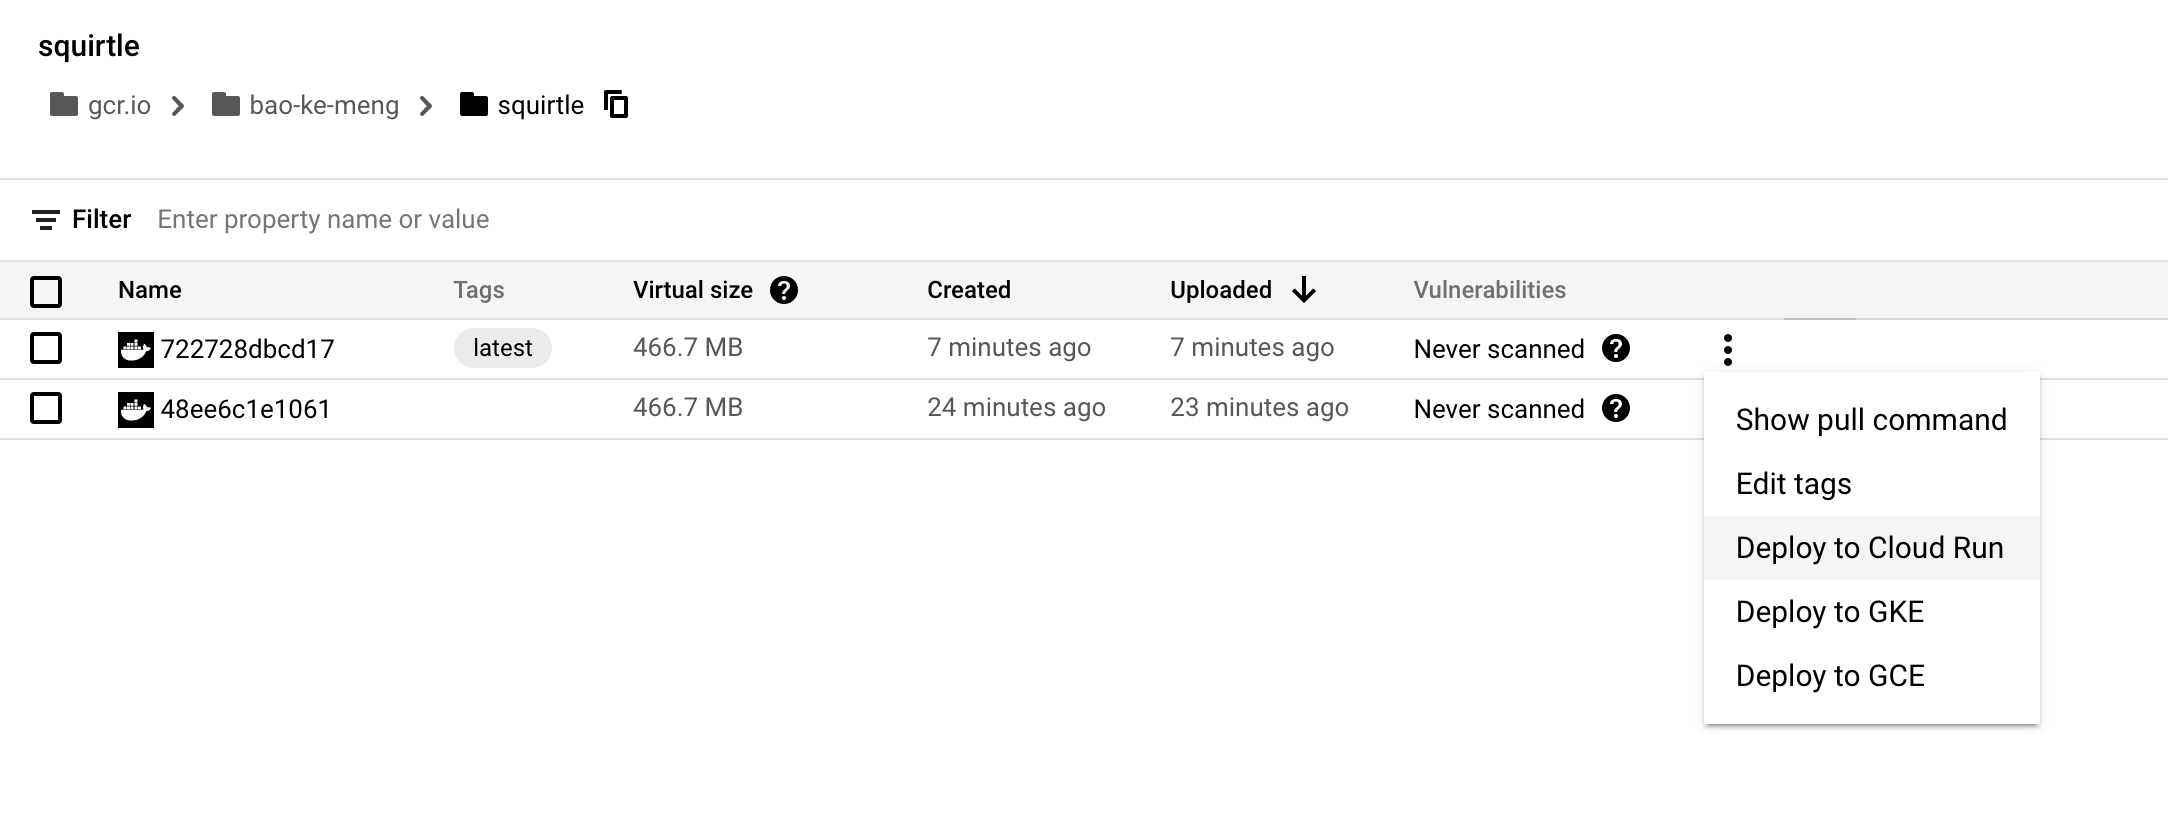
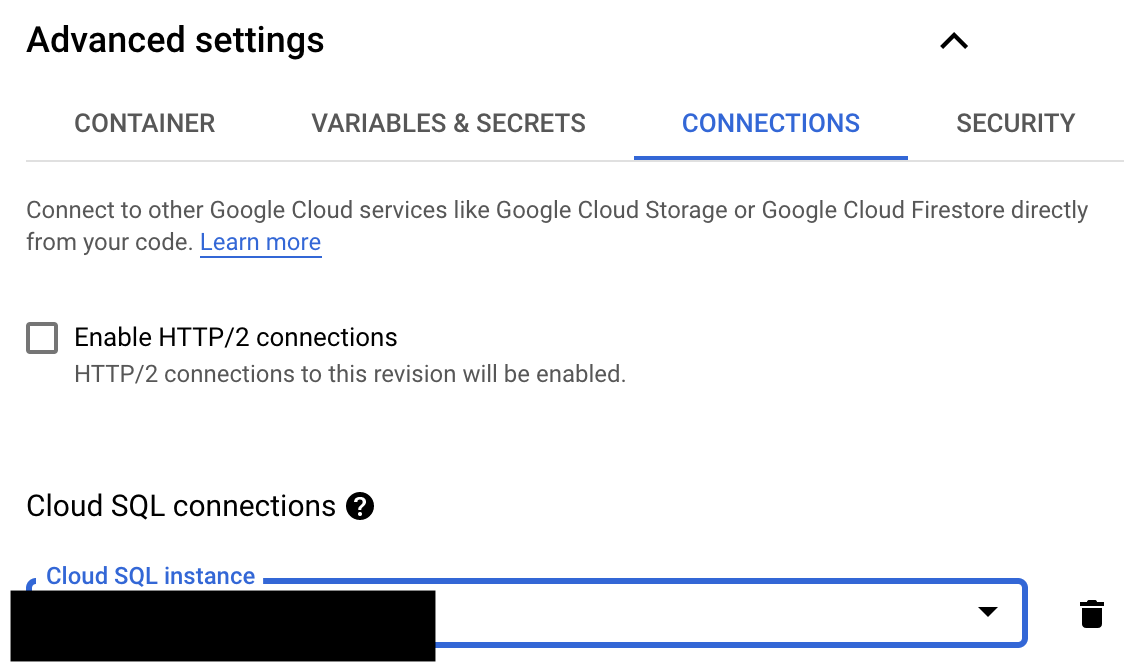
Go the dashboard of Cloud registry and click deploy to cloud run. You need to connect to the database when first time deploy to cloud run.
After deploying, check the url provided by the cloud run. You should see the home page you created before. And what’s better, it’s running under https!
Step 8 - Add healthcheck for the server
One big disadvantage of cloud run is that if it is inactive for some time, the server will shutdown. When new request comes it will boot again. And that request is much slower, usually costs more than 10s, therefore we need to request the service frequently to keep it warm. Health check is a very good candidate to handle this job.
gem 'rails-healthcheck' # Add this helper gem to your Gemfile
Search monitoring in the search bar and create a uptime check for the server. Choose the smallest period available (1min).

Step 9 - Setup automatic docker image builder pipeline
There are many CI/CD tools available in the market, here I am using the continuous cloud build server offered by Google. Whenever a new version tag is pushed to the github, a new build will be triggered on the google platform. If you want to deploy the new image, you should go to the cloud run dashboard and replace the image manully.
More 🚧
That’s it for the deployment starter kit! Hope you found it useful. A lot more could be explored based on this. For example, how to handle jobs in this situation? How to minimize the build time for the image builder?Go and explore them! 😁
Resources: